
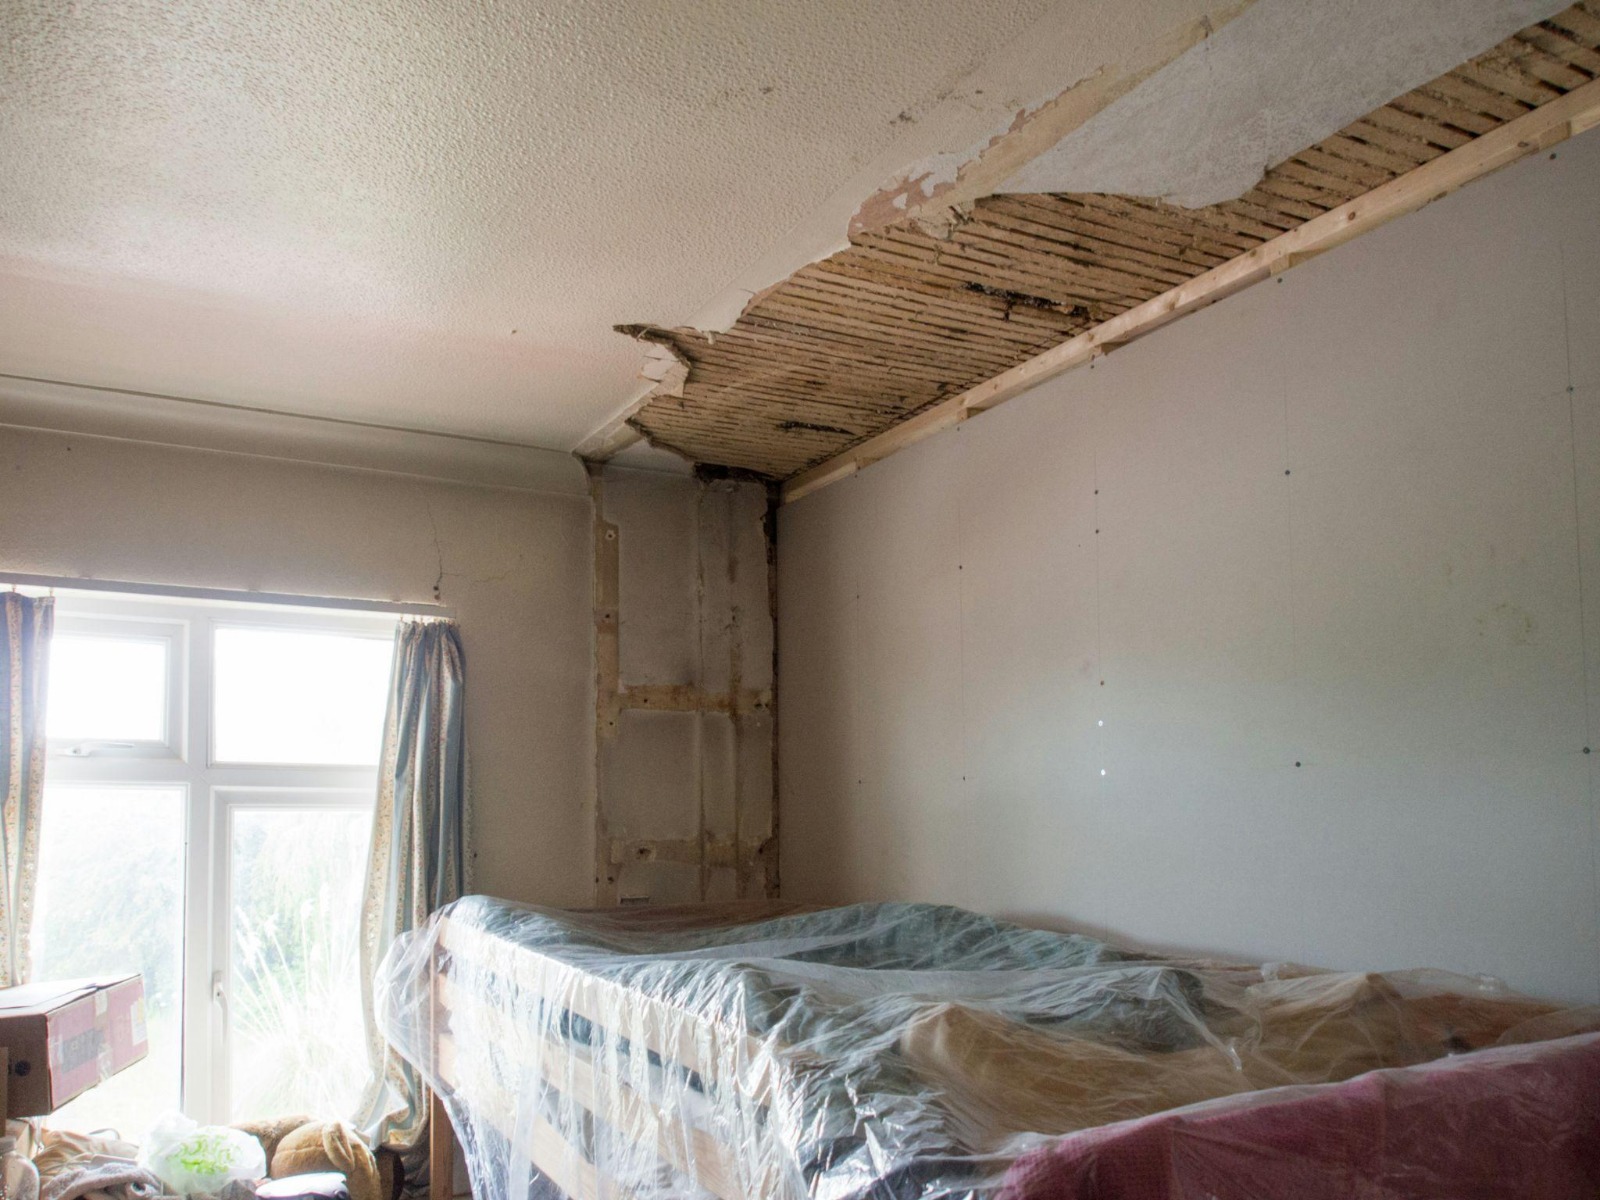
Finding a damp patch on the carpet or hearing a mysterious hiss behind the ensuite wall can be a real worry. We all know that water belongs in the pipes, not in the structural beams of our homes. When you suspect a leak, the first instinct might be to start pulling up floorboards or poking holes in the plaster to find the source. However, modern technology has moved well past the guess-and-check method.
If you are looking for Melbourne water leak detection, you’ll find that the process is remarkably calm, clean, and clinical. Instead of a sledgehammer, a specialist technician arrives with a van full of high-tech tools designed to see and hear through solid surfaces. It’s a bit like a medical check-up for your house. Here is a walkthrough of what actually happens once the experts arrive on site.
Step 1: The Initial Assessment
Before any sensors come out of their cases, the technician starts with a consultation. They’ll want to know where you’ve noticed moisture, if your water bills have taken a sudden jump, or if the water meter is spinning like a top while all the taps are off. It’s all about gathering the clues before the heavy lifting begins.
The first technical step is usually a static pressure test. By isolating the plumbing system and monitoring the pressure levels, the technician can confirm if there is a drop. If the pressure holds, the pipes are likely fine, and the issue might actually be a roofing problem or a sealing fault in the shower. If the pressure drops, it’s a green light to start the deep dive.
Step 2: Infrared Thermal Scanning
One of the most impressive tools in the kit is the thermal imaging camera. This isn’t just a fancy camera; it detects infrared radiation. Because water changes the temperature of the materials it touches, the camera reveals these temperature shifts as distinct heat maps on a screen.
When a technician scans your walls or ceilings, they are looking for temperature anomalies. A hidden pipe leak behind a tiled wall will show up as a dark purple or blue streak against the warmer yellow and orange of the dry wall. This non-invasive step is brilliant because it narrows down a five-metre wall to a small zone without a single scratch to your paintwork.
Step 3: Acoustic Listening Tests
Once the general area is identified via thermal imaging, it is time to get precise. This is where acoustic leak detection comes into play. When water escapes a pressurised pipe, it creates a very specific frequency of vibration and sound. You may not hear it, but to a professional ground microphone, it sounds like a rushing jet.
The technician wears high-quality headphones connected to an amplifier and a sensitive listening stick or ground plate. They move methodically across the floor or along the wall. As they get closer to the leak, the sound intensity peaks. It takes a trained ear to filter out background noise like passing traffic or a neighbour’s air conditioner, but a pro can usually pinpoint the source to within a few centimetres.
Step 4: Using Tracer Gas
Sometimes, a leak is so small or buried so deep under a thick concrete slab that even the best microphones struggle to pick it up. In these cases, a tracer gas method is used. The water is drained from the lines, and a safe, non-toxic mixture of hydrogen and nitrogen is pumped in.
Because hydrogen is the smallest and lightest element, it escapes through the tiny crack in the pipe and rises straight up through concrete, soil, and floor coverings. The technician then uses a sensitive sniffer probe to detect where the gas is breaking the surface. It is an incredibly reliable way to find those problems without having to dig up the entire driveway.
Step 5: CCTV Pipe Inspections
For issues involving sewer or stormwater lines, a CCTV drain camera is the go-to. This involves feeding a high-resolution, waterproof camera on a flexible cable down the pipe. The technician watches a live feed on a monitor, looking for cracks, displaced joints, or even tree roots that have muscled their way inside.
These cameras often have built-in transmitters. If the camera spots a break, the technician can use a locator wand above ground to find exactly where that camera head is sitting. No more guessing where the pipe runs under the garden beds.
Step 6: The Final Report
After the detective work is done, the process doesn’t just end with a finger pointed at a spot on the floor. A professional service concludes the visit by providing a detailed report. This document usually includes the exact location of the fault, thermal photos or CCTV footage of the issue, and recommendations for the most efficient way to fix it.
This report is pure gold for your plumber. Instead of spending hours searching (and charging you for the time), they can walk straight to the marked spot, perform a surgical repair, and get your home back to normal in a fraction of the time.
Choosing a professional inspection is about moving forward with certainty. It saves your back pocket from unnecessary repair costs and saves your home from being turned into a construction zone. It’s a smart, clean, and proactive way to look after your most valuable asset. The peace of mind comes from knowing exactly what is happening behind your walls.


